01Photo to material
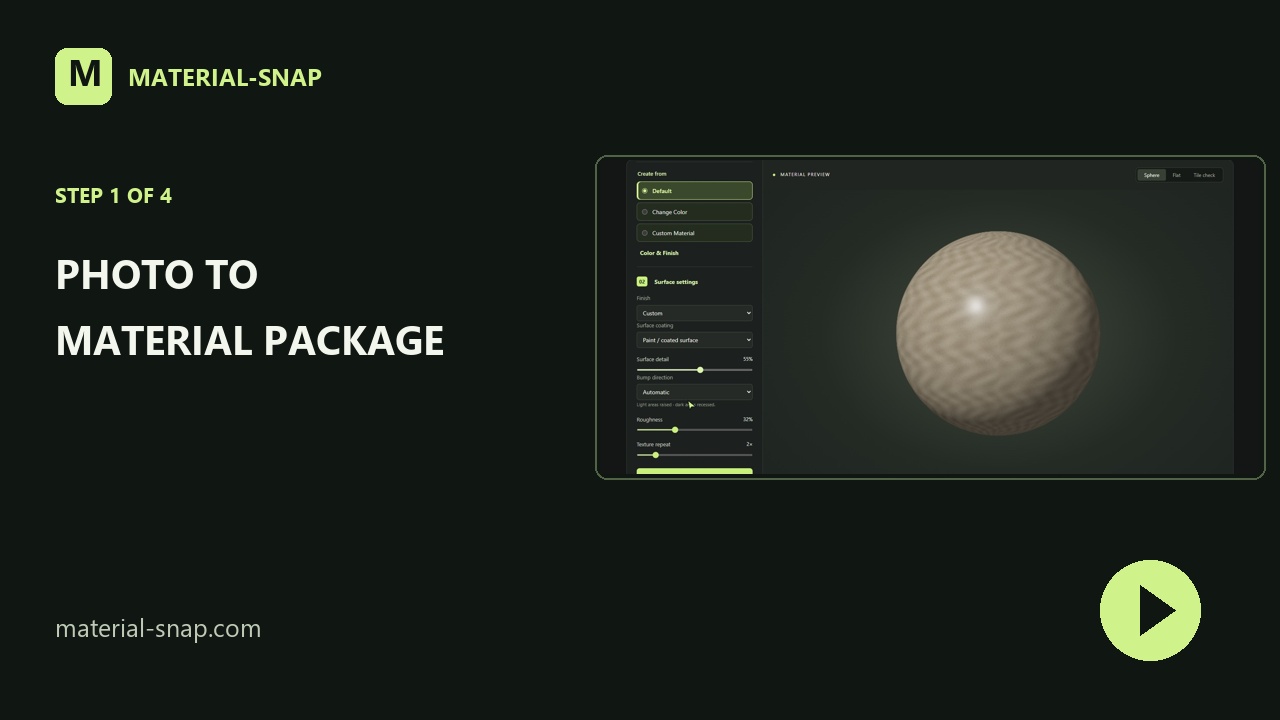
Turn a texture photo into a material package. Adjust the surface and check your exported maps.
 1:16Read the steps ↓
From a surface photo to material maps, reviews, boards and feedback. Learn the workflow at your own pace.
 3:21
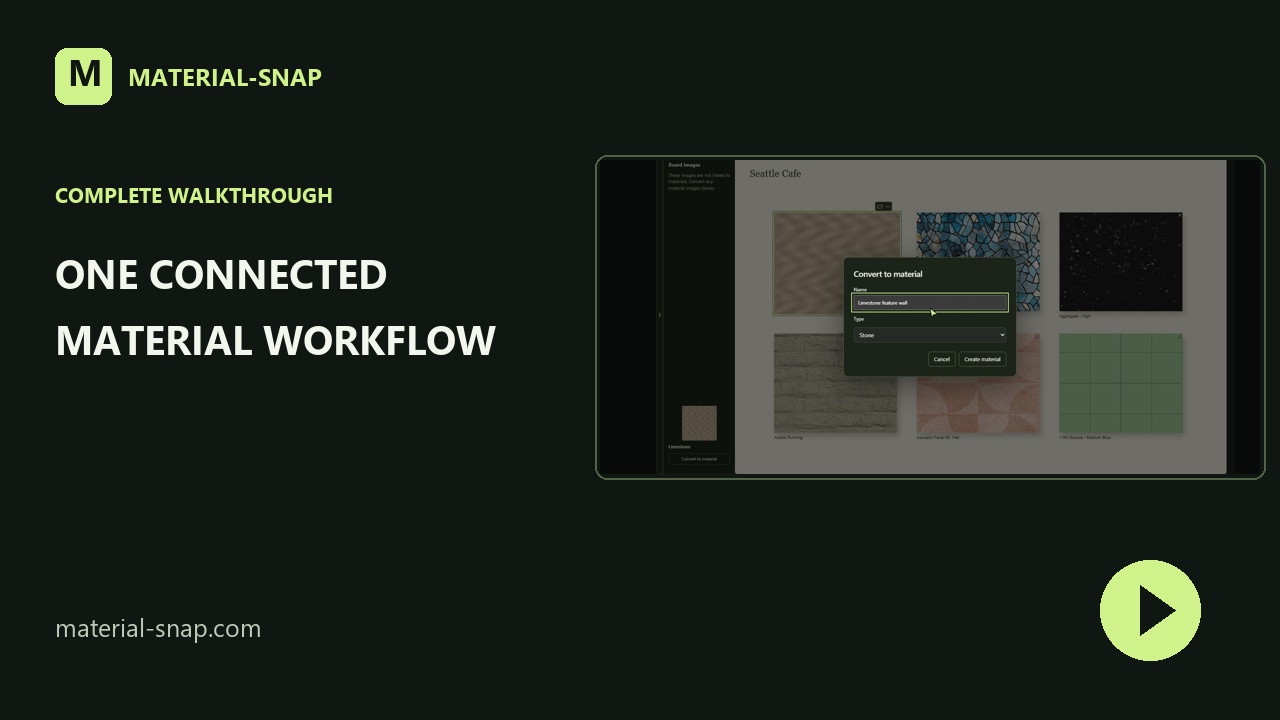
Watch the complete workflow · 3 min 21 sec · English narration and captions
Choose a tutorial, then use the written steps below as you work.
Turn a texture photo into a material package. Adjust the surface and check your exported maps.
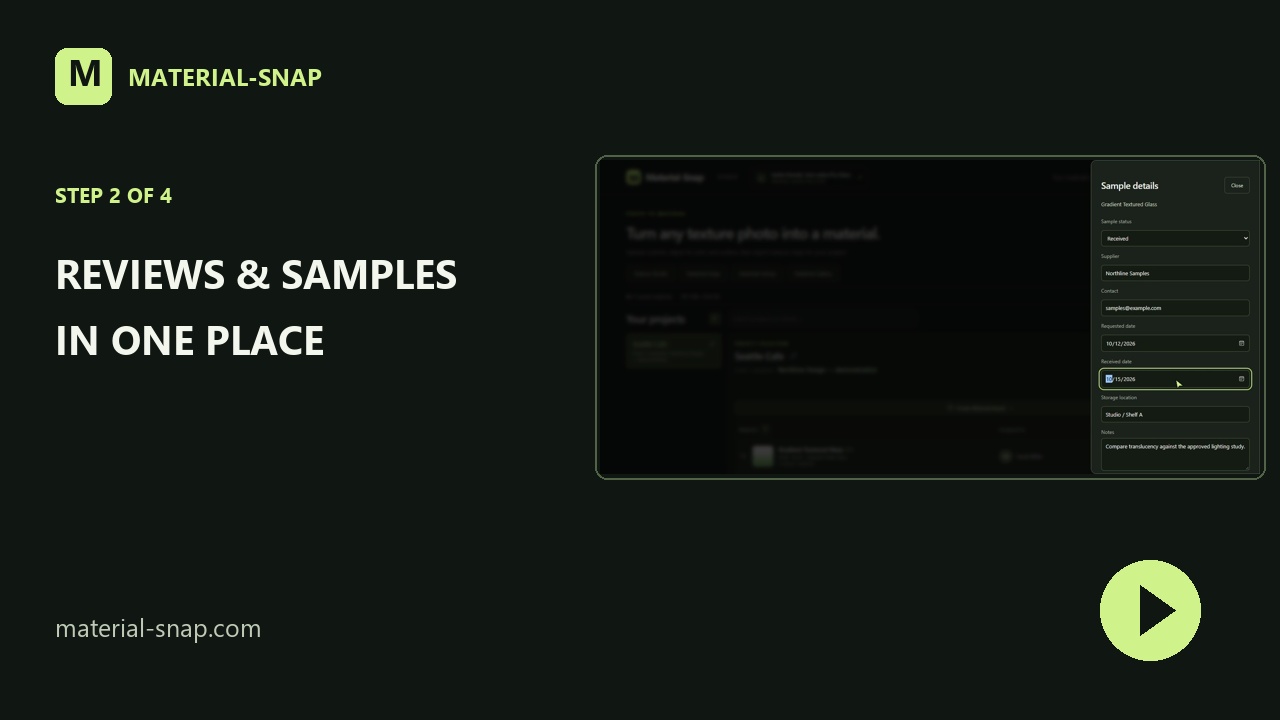
1:16Read the steps ↓Keep material reviews, responsibilities and physical sample progress together.
 1:16Read the steps ↓
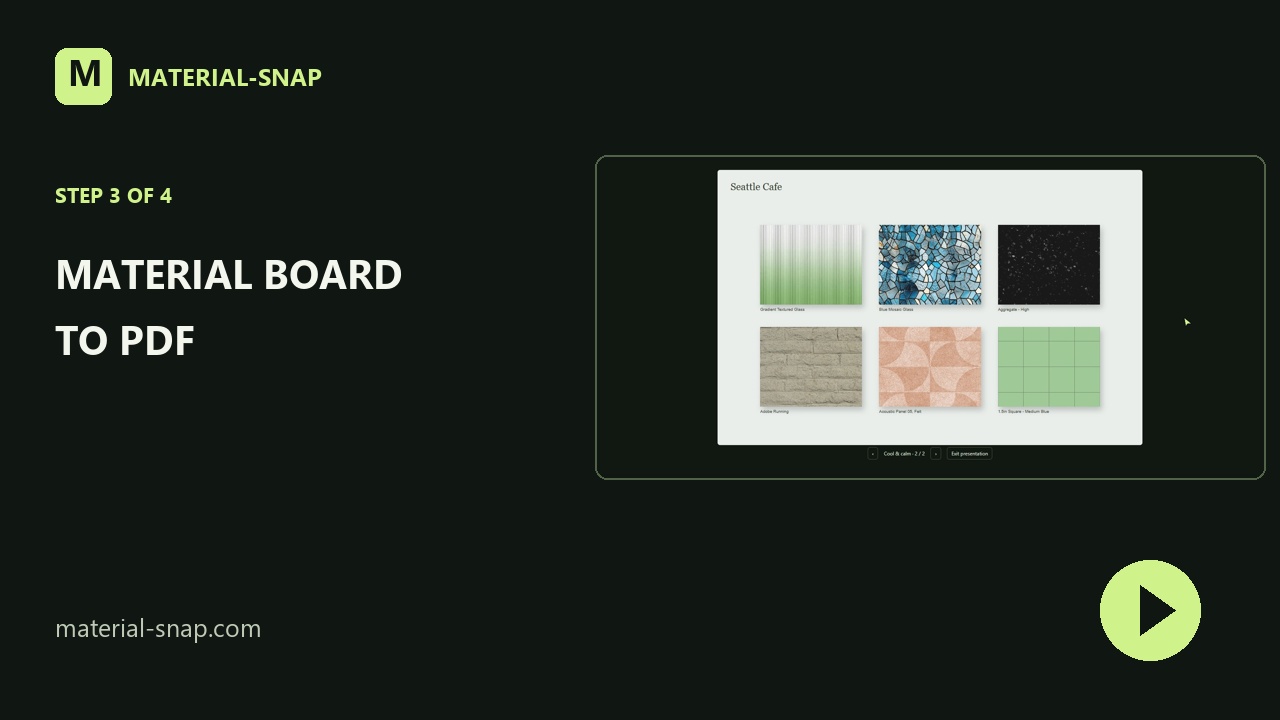
Arrange materials, add images and export a PDF presentation.
 1:18Read the steps ↓
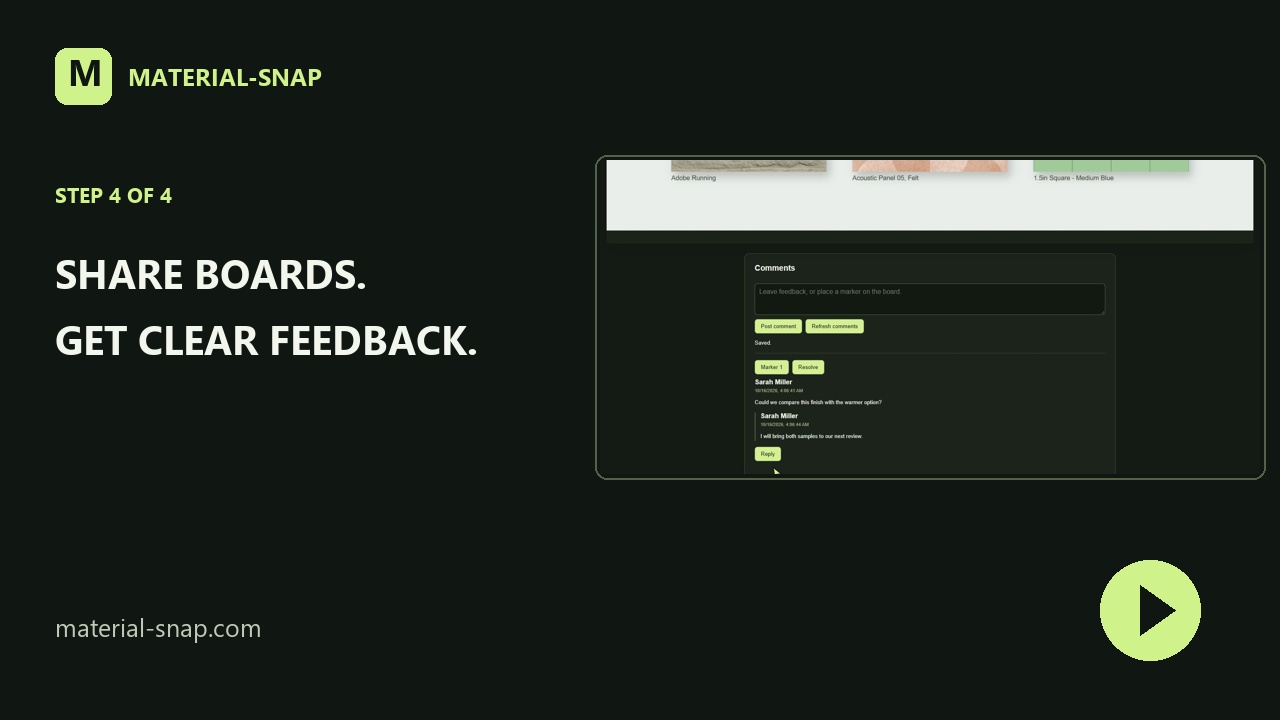
Share selected boards and collect focused, location-based feedback.
 1:16Read the steps ↓
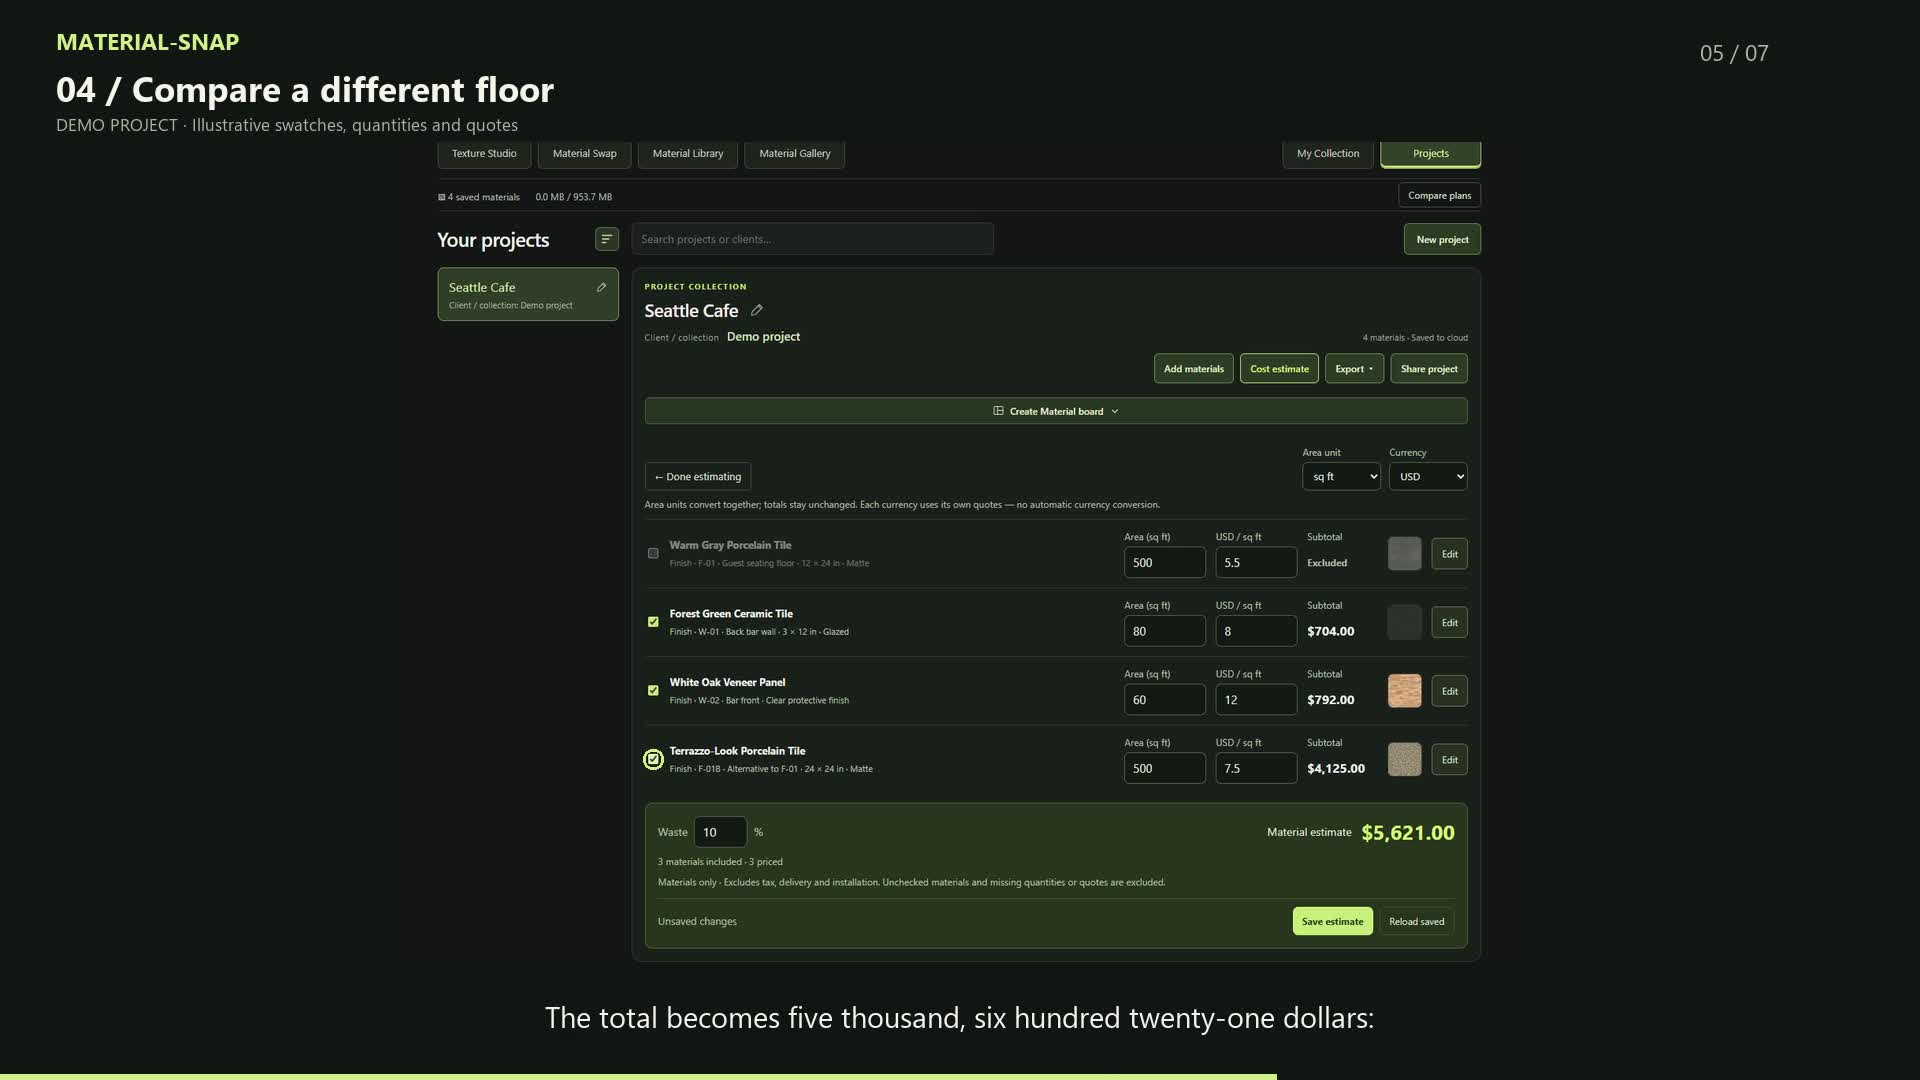
Enter supplier quotes and quantities. Compare costs with a Seattle café example.
 1:11Read the steps ↓
Quick steps for the tools you use alongside the material workflow.
Create cladding materials from 18 profiles, including panels, lap siding, fluted surfaces and open screens.
DXF and OBJ exports use millimetres. Check the import scale in your modeling software.
English narration and captions. Read the transcript →
Try your material in six scenes, directly in the editor.
Use these scenes for material and scale studies; final project geometry and rendering belong in your modeling workflow.
Use one measurement preference across the editor and project cost workflow.
Changing units preserves actual sizes and cost totals. Changing your default does not rewrite existing projects. If you change an open estimate’s units, save the estimate to keep that change.
Use soft, even lighting. Avoid strong shadows and color casts.
Keep the camera parallel to the surface to reduce perspective distortion.
Use a known dimension to set texture scale in your target application.
Material-Snap is a browser-based texture studio for making render materials, exploring surface finishes and organizing materials for design projects.
Start with a photo of a surface such as wood, stone, concrete or fabric. Adjust its appearance, preview the material under light, and export texture maps for use in your rendering workflow.
Base color describes the surface color. A normal map changes how light responds to apparent fine detail. Roughness controls how sharp or spread out reflections appear. Height represents surface relief for workflows that support bump or displacement.
Maps derived from a single photograph are approximations, not physical measurements. Lighting, scale, texture orientation and renderer settings affect the final appearance. Check seams and the material scale before using a material in a finished scene.
Alongside the texture studio, Material-Snap provides a material library and material-board tools. Explore materials, organize a selection for a project, and keep related specifications together. Account and plan requirements depend on the feature.
Material-Snap includes export and plugin workflows for Blender, Rhino, Revit and SketchUp. These tools have different material systems: use the relevant import workflow and review map assignments, scale and appearance in the target application.
Read the plugin guide or open Material-Snap to explore the available tools.
No. Generated surface maps are estimates from the image. Check scale, lighting, seams and the rendered result. Use manufacturer data for verified physical or technical specifications.
Use the available export or plugin workflow for your application. Material systems differ, so check map assignments, texture scale and appearance after importing. Read the plugin guide.
No. Open Texture Studio whenever you are ready. These guides are here when you need them.