Panels & rainscreens
- Metal Cassette
- Fibre Cement Panels
- HPL Panels
- Porcelain Slabs
- Natural Stone Panels
- Precast / GFRC
New / Facade Builder
Build facade materials around the dimensions you need. Choose a cladding profile, add your texture or color, then see the result before opening your modeling software.
Free through . Pro / Team thereafter.
Watch a quick workflow for metal panels, perforated screens and lap siding. Choose a profile and color, try the material on two Townhouse wall surfaces, then download the PBR maps and model files.
Need a texture to start with? Explore the free texture library and original materials in the Gallery, or create your own facade material.
Need a facade texture? Make your own, right in your browser. Start with eighteen profiles: metal panels, perforated screens, or lap siding. Pick a finish and color, then preview it on Townhouse. Apply it to the lower wall and upper gable to see how it works across the facade. Bring your own image, or find free textures in Material Library and Material Gallery. Export PBR maps and model files. Facade Builder is free through October thirty-first, twenty twenty-seven. Material-Snap. Make it. Preview it.
Choose the construction language
From metal panel rainscreens to timber cladding and perforated screens, start with a profile instead of drawing every joint and rib by hand.
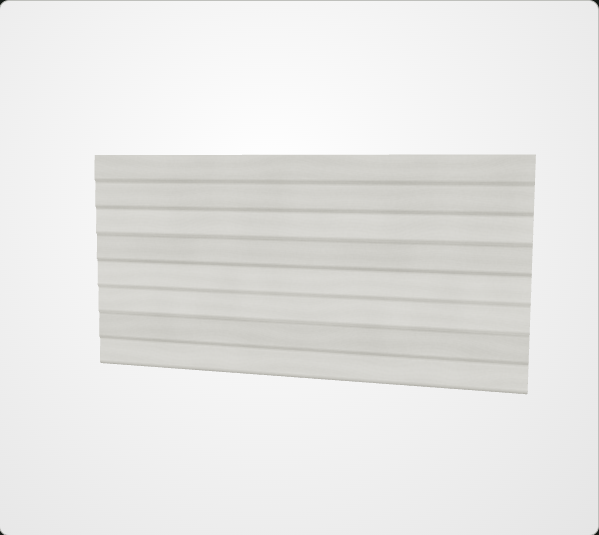
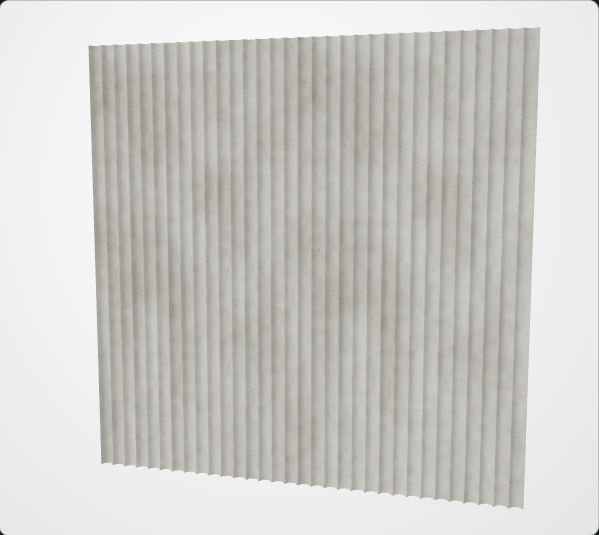
Fluted Panel / Four styles
Choose sharp ribs, flat tops, rounded reeds or concave flutes. Set pitch and depth to control the rhythm and relief.
A quicker way to test a finish
Pick a panel, board, rib or screen. The available controls follow the chosen profile.
Adjust panel width and height, spacing, joint width or relief. Use metric or imperial measurements.
Upload a texture, reuse an editor material or choose a built-in finish. Refine the color and roughness.
Try cladding on Townhouse or compare finishes across three Retail storefronts. Select upper and lower front and side walls independently on each shop, or orbit to edit an exposed rear facade. Export maps and profiles for your model.
The details that usually take time
A 600 mm panel and a 600 mm texture repeat are different things. Set the cladding dimensions while keeping the source surface scale explicit, so timber grain or stone detail is not stretched to fit each panel. The export records the generated physical repeat.
Changing a metal cassette joint or corrugated panel pitch changes the material pattern. Generate the maps and section from the same settings, then use the dimensioned profile as a reference when building the model.
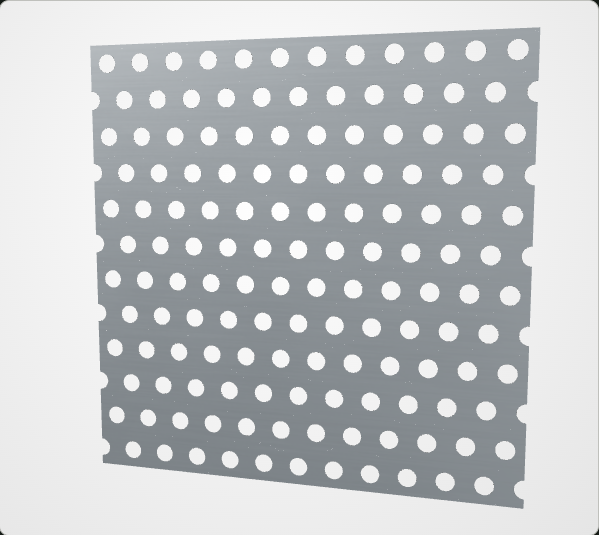
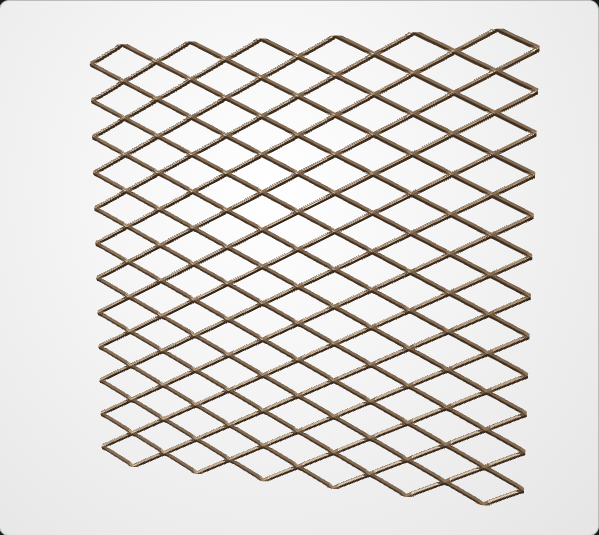
Perforated metal, expanded metal and woven wire need open areas as well as a metal finish. The builder supplies opacity where needed and a shaped OBJ surface. Set up transparency or use the geometry in your rendering software.
Use texture maps for material studies and a shaped surface when the silhouette or depth matters. If the OBJ already contains the profile, avoid adding the same full relief again through displacement. Use Townhouse and Retail to compare finishes at scale before detailing the facade in your project model.
Take the result into your workflow
| Download | What it contains | Use it for |
|---|---|---|
| PBR package | Base color, normal, roughness, height and metalness maps; opacity for open profiles. | Building a material in your rendering software, with physical repeat information. |
| DXF section | Profile section at actual size, in millimetres. | Importing a section reference into CAD or modeling software. |
| OBJ surface | Generated facade surface geometry at actual size, in millimetres. | Testing visible relief, panel shapes and open screens in a model. |
| SVG drawing | A readable vector profile drawing with dimensions. | Checking proportions and communicating the intended profile. |
Check millimetres when importing DXF or OBJ. An OBJ file does not declare a universal unit convention. These are material and geometry references, not manufacturer-certified construction details or native Revit families.
Before you start
Facade preview and PBR/model downloads are free through October 31, 2027. A Pro or Team plan is required from November 1, 2027. The offer follows Los Angeles time.
Yes. Upload a JPG, PNG or WebP, or reuse the material from the editor. Set the source texture dimensions so its grain or surface detail stays at the intended scale. A generated repeating panel layout does not automatically remove seams from the edges of an uploaded photograph.
Yes. Corrugated Metal, Trapezoidal Metal and Standing Seam are separate profiles. Their settings control the spacing and relief, while the finish controls the surface appearance. You can inspect both the material and its profile section before exporting.
The open profiles include opacity maps and a shaped surface export. In your renderer, connect opacity using its expected transparency convention or use the OBJ geometry. Applying an opacity material to a preview wall does not cut a matching opening through the building behind it.
Use the DXF section as a dimensioned CAD reference where supported, or the OBJ surface in software that accepts OBJ. Import using millimetres and check one known dimension. The downloads are not native Revit RFA or RVT files; any family, assembly or host-specific setup is completed in your modeling software.
The browser preview is for quick material combinations, scale checks and design exploration. Final lighting, construction assemblies, deep displacement and project-specific geometry are set up in your modeling or rendering software.
Start with a profile. Make it your finish.