Bring a surface you like.
Use a continuous image of stone, clay, wood or another surface, without existing grout.
MATERIAL-SNAP / TILE LAYOUT
Build a tile layout from one surface image. Choose a pattern, set the tile dimensions and grout, then check how the material repeats.
Your surface. Your dimensions. Your grout.


ONE SURFACE, MORE POSSIBILITIES
Skip rebuilding the same material by hand. Choose a layout, set the size and make it your own.

Use a continuous image of stone, clay, wood or another surface, without existing grout.
Turn on Tile layout. Choose Herringbone, set tile dimensions and grout, then adjust the color.
Preview the repeat and export your texture maps with a matching simplified .pat hatch.
SEE THE ACTUAL WORKFLOW
A quick walkthrough of the controls, the color change and the final export. Follow along in the studio.
More complex Floor & wall layouts, with new choices added over time. Have a different pattern in mind? Explore Custom to start from a pattern drawing.
Explore in the studioTRY A FINISHED MATERIAL
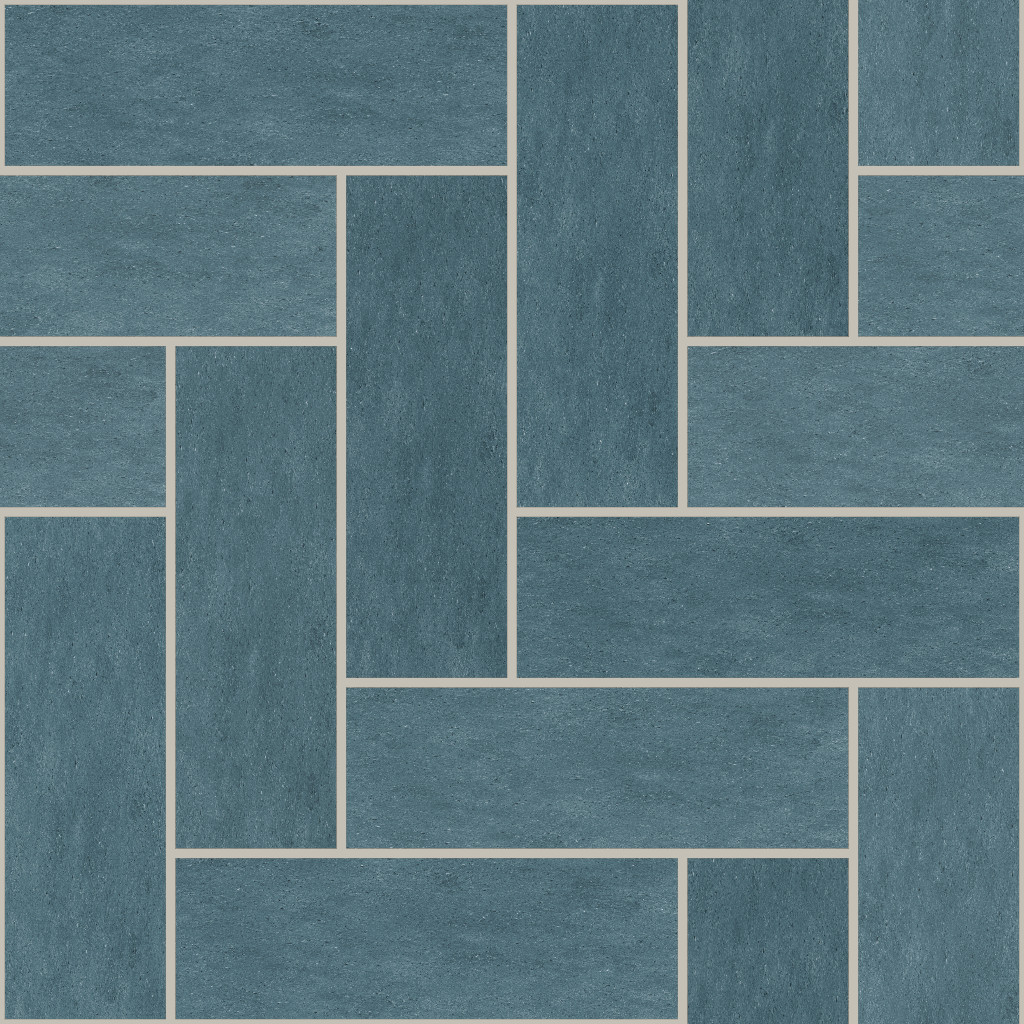
Download the blue-gray Herringbone material from the tutorial, after the color-change step.
A fixed sample in blue-gray. Open the studio to create a material with your own settings.
THE DETAILS MAKE THE MATERIAL
Make the layout, the surface and the scale work together before you export.
Set tile dimensions and grout width. Keep the real-world repeat size with the exported maps so the pattern reads correctly in your renderer.
Adjust color and finish while the layout defines the tile divisions. A source without existing grout gives you a cleaner starting point.
Open Scene Preview in the studio to try a material on a floor or wall, then adjust its scale and rotation.
Explore Scene PreviewBEFORE YOU START
Start with a single continuous surface without grout, tiles or existing seams. The layout applies its own tile divisions, so a clean source gives you more control.
The sample includes PNG maps and a simplified .pat hatch. Import the hatch as a Revit model pattern or an AutoCAD custom hatch. Apply the texture maps and set their real-world scale in your renderer.
No native DWG is included in this sample. Native DWG output uses the desktop AutoCAD helper. The .pat file provides the matching hatch pattern.
Explore Floor & wall in the studio. Pro provides more complex layout options, with new choices added over time. The Custom option can start from your own pattern drawing.
LESS SEARCHING. MORE DESIGNING.