Downloaded a texture?
Give it a room first.
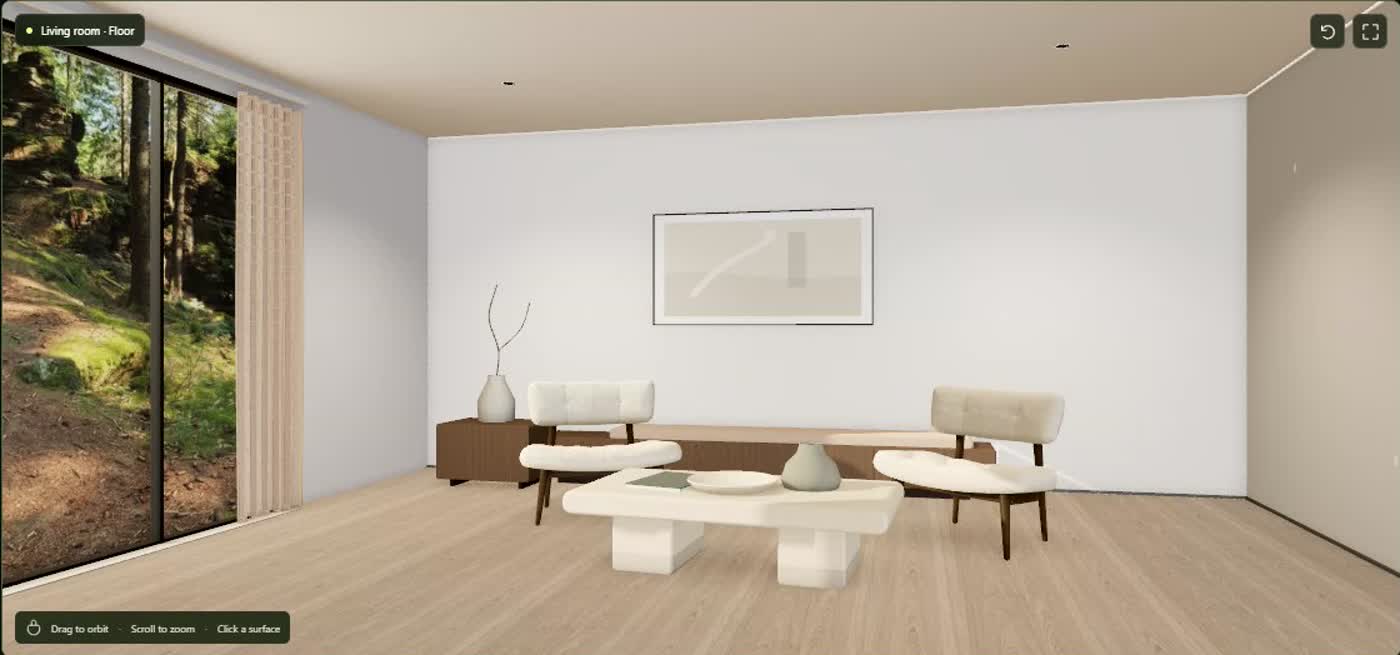
A flat image can be hard to judge. Use Material Swap to check the package, then open Preview in scene to see the material in context.
- Drop a texture ZIP or SketchUp SKM into Material Swap.
- Confirm the base color, normal, roughness and height assignments.
- Click Preview in scene, then compare surfaces and scenes.
The preview is a visual check. Lighting and renderer settings can change the final appearance; confirm real-world dimensions in your design software.
Love the grain.
Not the color?
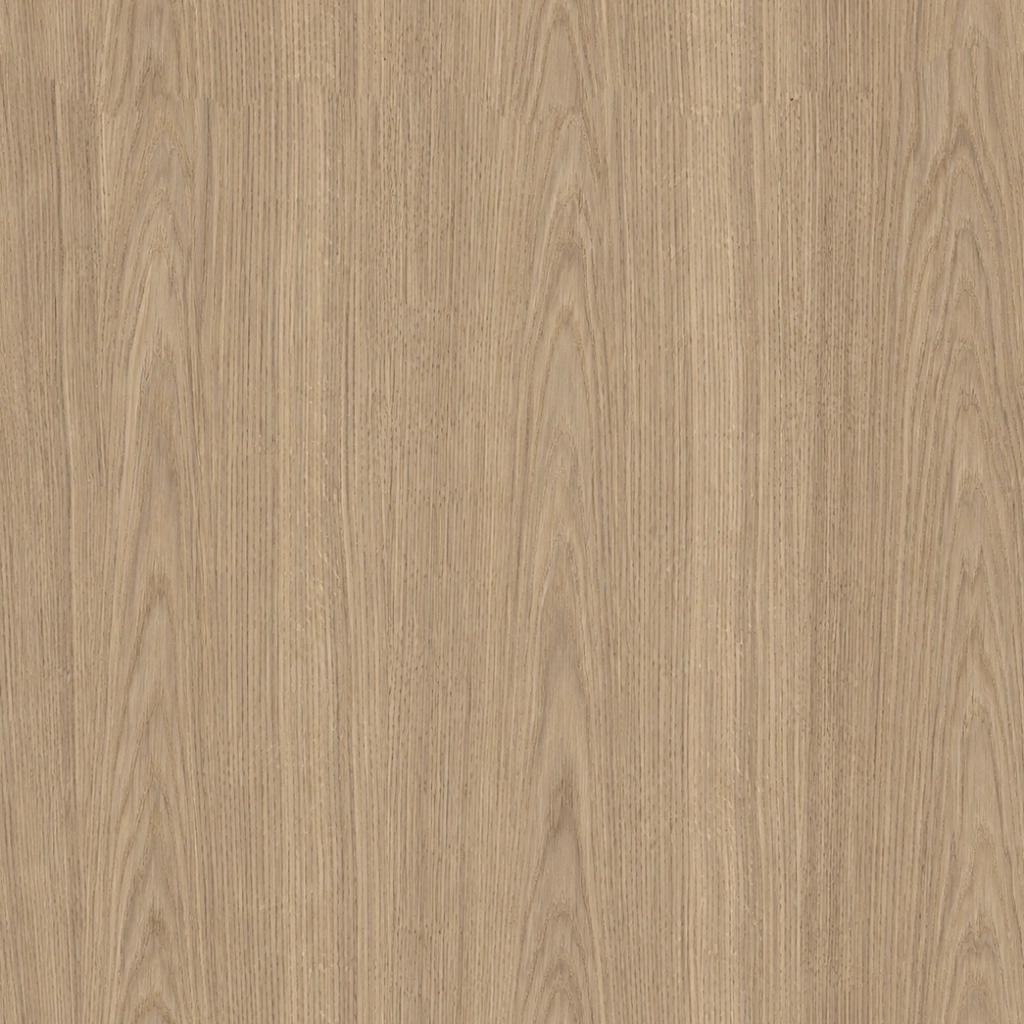
Start with your own image or a library texture, then use Change Color. Keep your color experiments in one place instead of stacking several tint controls.
- Load the texture and choose Change Color.
- Try Overlay for more contrast between light and dark detail.
- Try Multiply for a darker, stained look. Adjust the amount.
This small demo compares the studio’s grayscale-based blend math at full strength. It changes color only, not relief or roughness.
Sometimes the material is right.
The scale is wrong.
A grain that looks oversized can overwhelm a room. Compare a few repeat sizes before replacing the material.
- Open your material in Scene Preview.
- Adjust Texture scale and compare the same surface.
- Check the physical repeat size before exporting or applying it in your model.
An illustration of repetition, not a physical measurement or a seamlessness guarantee.
Keep the material.
Change the rhythm.
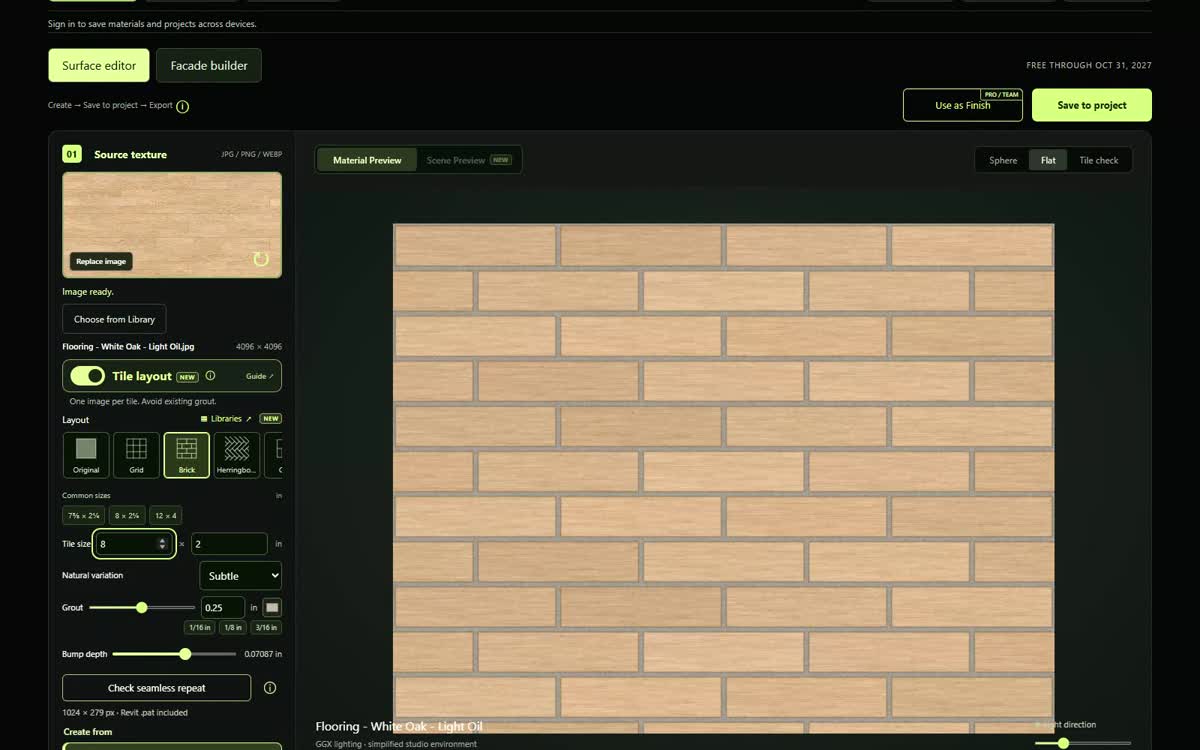
Try your source texture as a tile surface. The pattern, tile proportions and grout can make one material feel quite different.
- Choose a clean source image, ideally without existing grout.
- Turn on Tile layout and select a pattern.
- Adjust the tile dimensions and grout, then check the repeat.
Pattern availability depends on your plan. Some designer layouts require Pro or Team. Inspect the result before using it in a project.
A good texture shouldn’t
stay in one workflow.
Bring a texture-based material package into Material Swap and prepare its maps for the software you use next.
- Import a ZIP or texture-based SKM and check the map assignments.
- Choose your destination software.
- Download the ZIP and follow the included import instructions.
TEXTURES + IMPORT INSTRUCTIONS
Same material.
A new destination.
Supported destinations include application-specific helpers. Check the README and map setup in the target application.
What gets converted?
Material Swap prepares texture maps and import helpers. It does not directly generate native Revit, Rhino or Blender project files. Procedural shaders and native material libraries may require texture export first. Missing maps use neutral placeholders, not recovered surface detail.