MATERIAL-SNAP / 3D MATERIAL PREVIEW

Quick material combinations.
Instant previews.

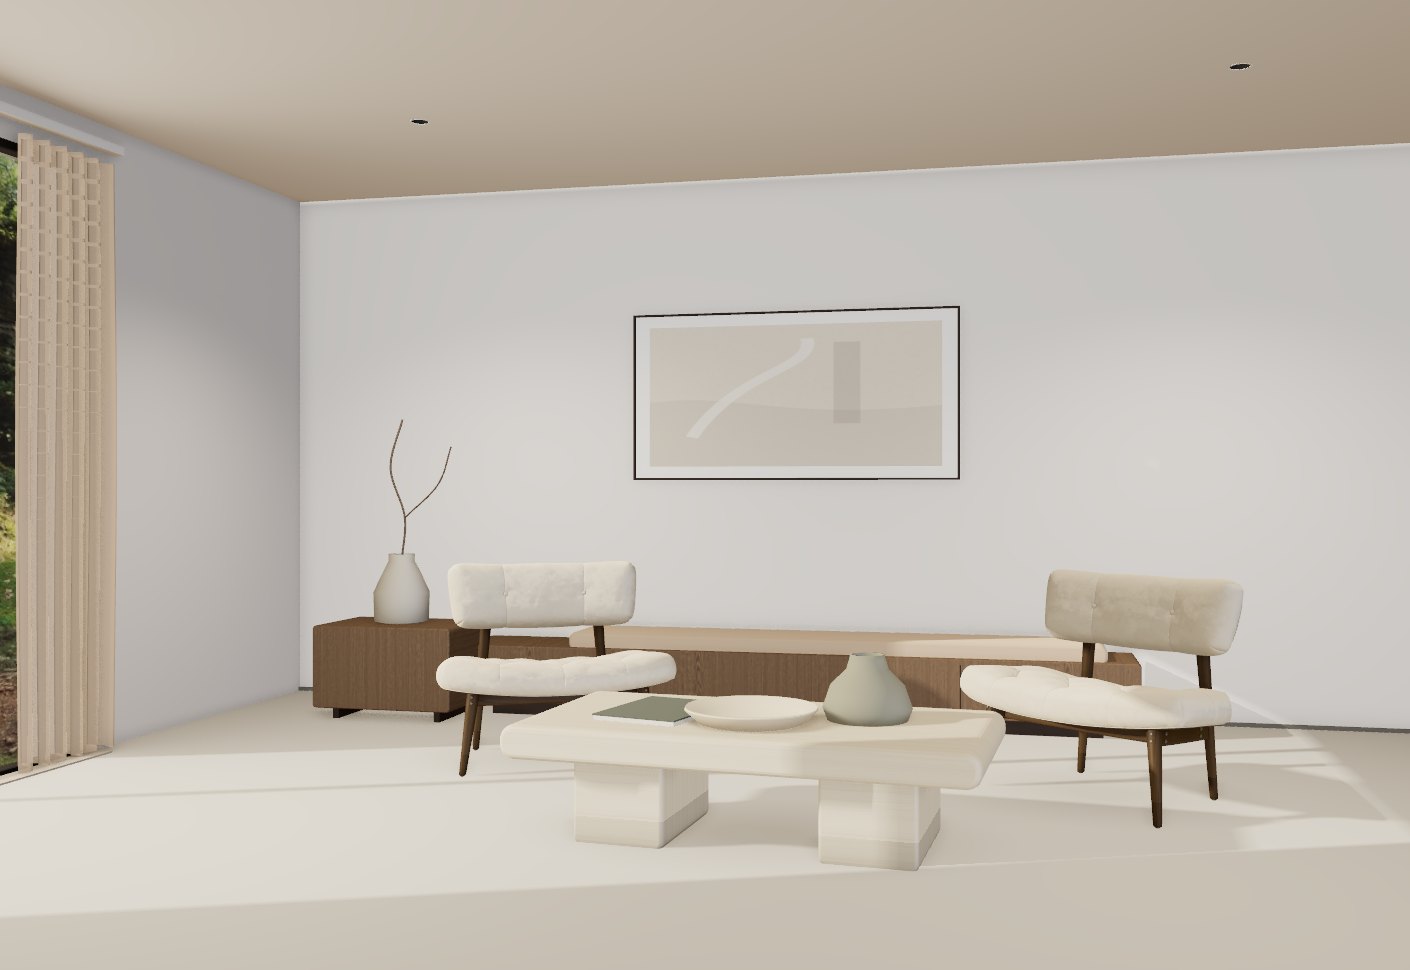
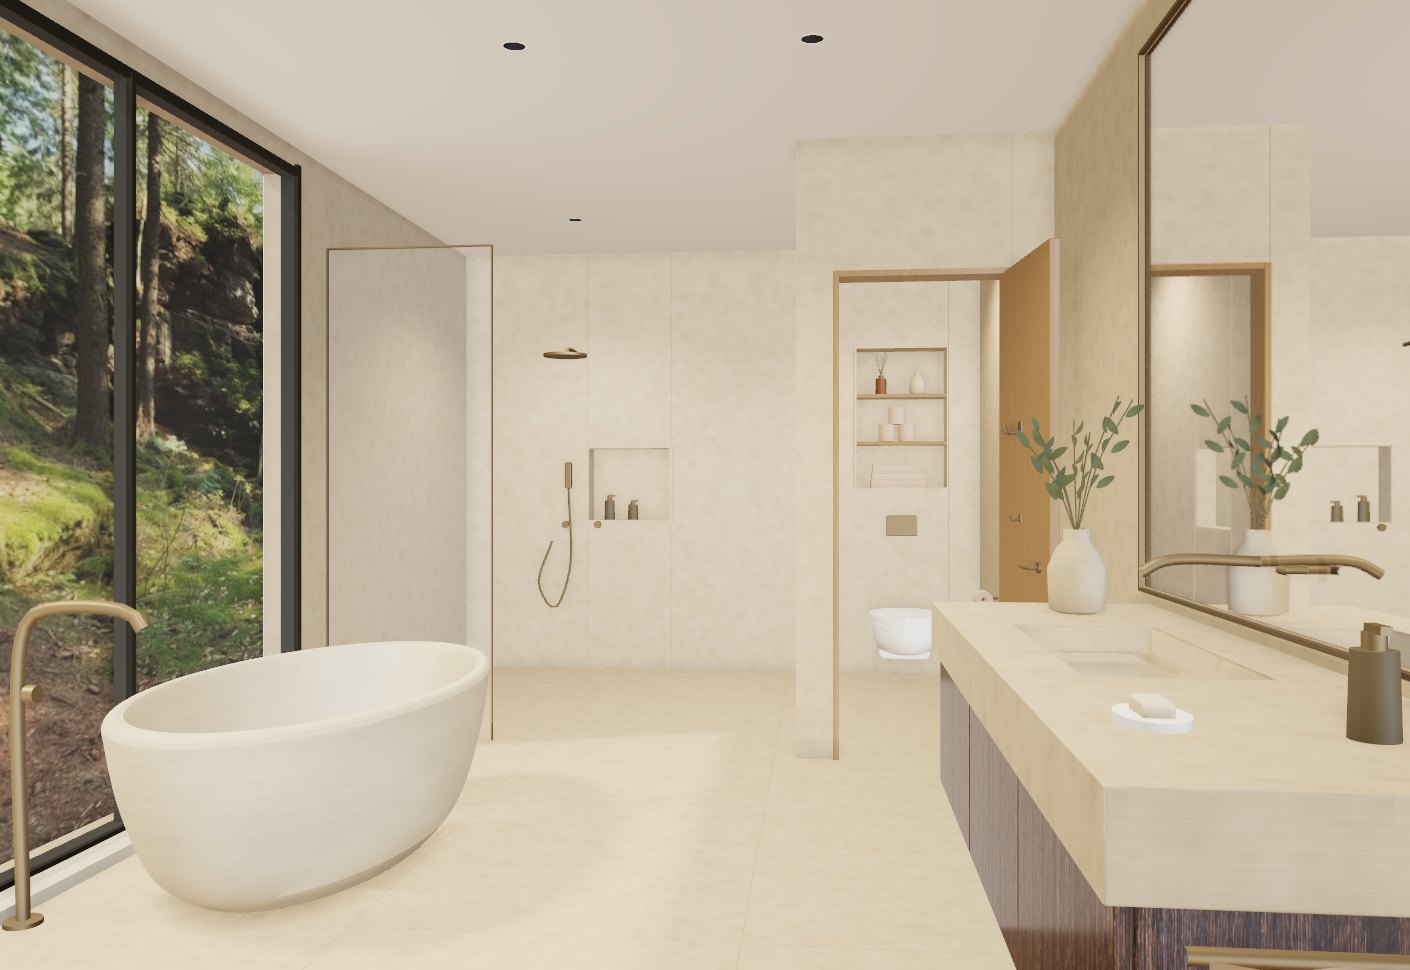
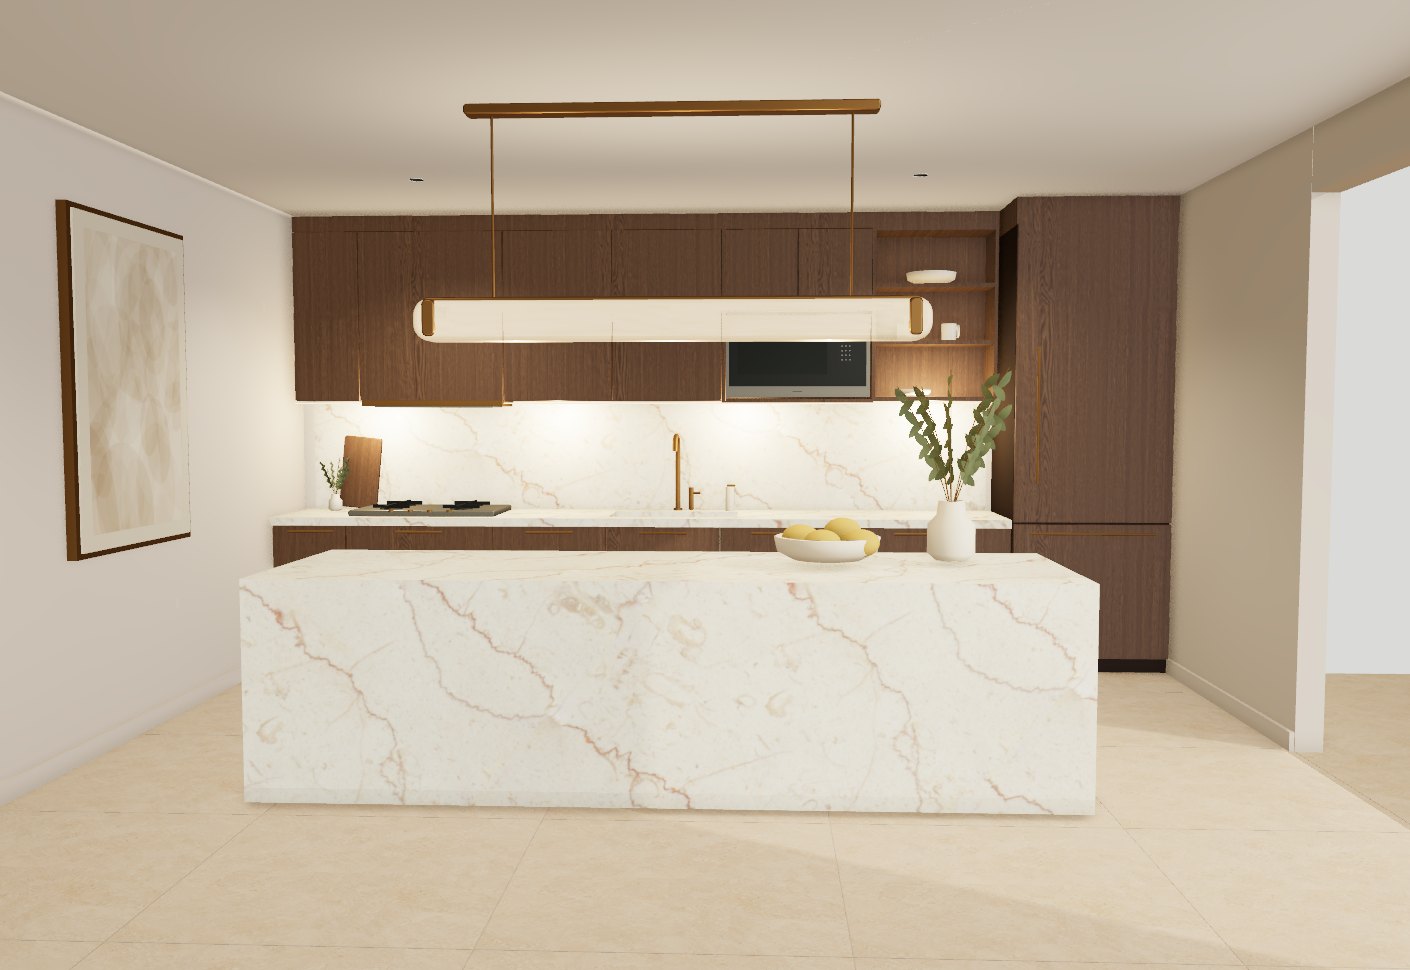
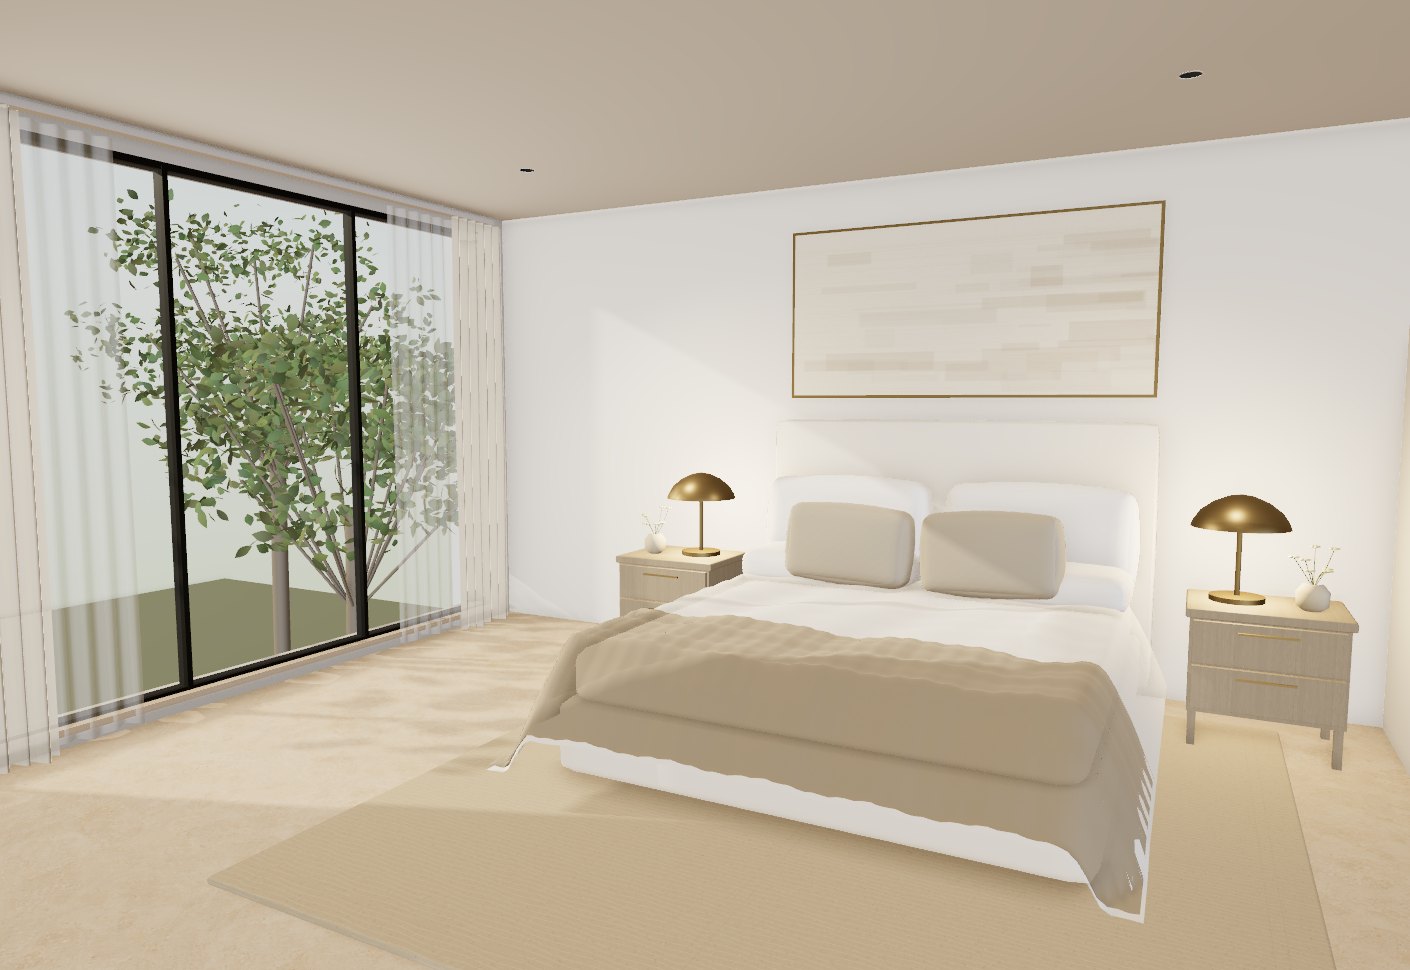
Explore material pairings and early design ideas directly in your browser. Try tile, wallpaper, wood or stone in six 3D test scenes, then compare scale, repeats and finishes without opening separate modeling or rendering software for the first comparison.

Try a material combination

Select a scene to open the material editor. Upload your own texture and try it in the preview.

05Scenes to explore

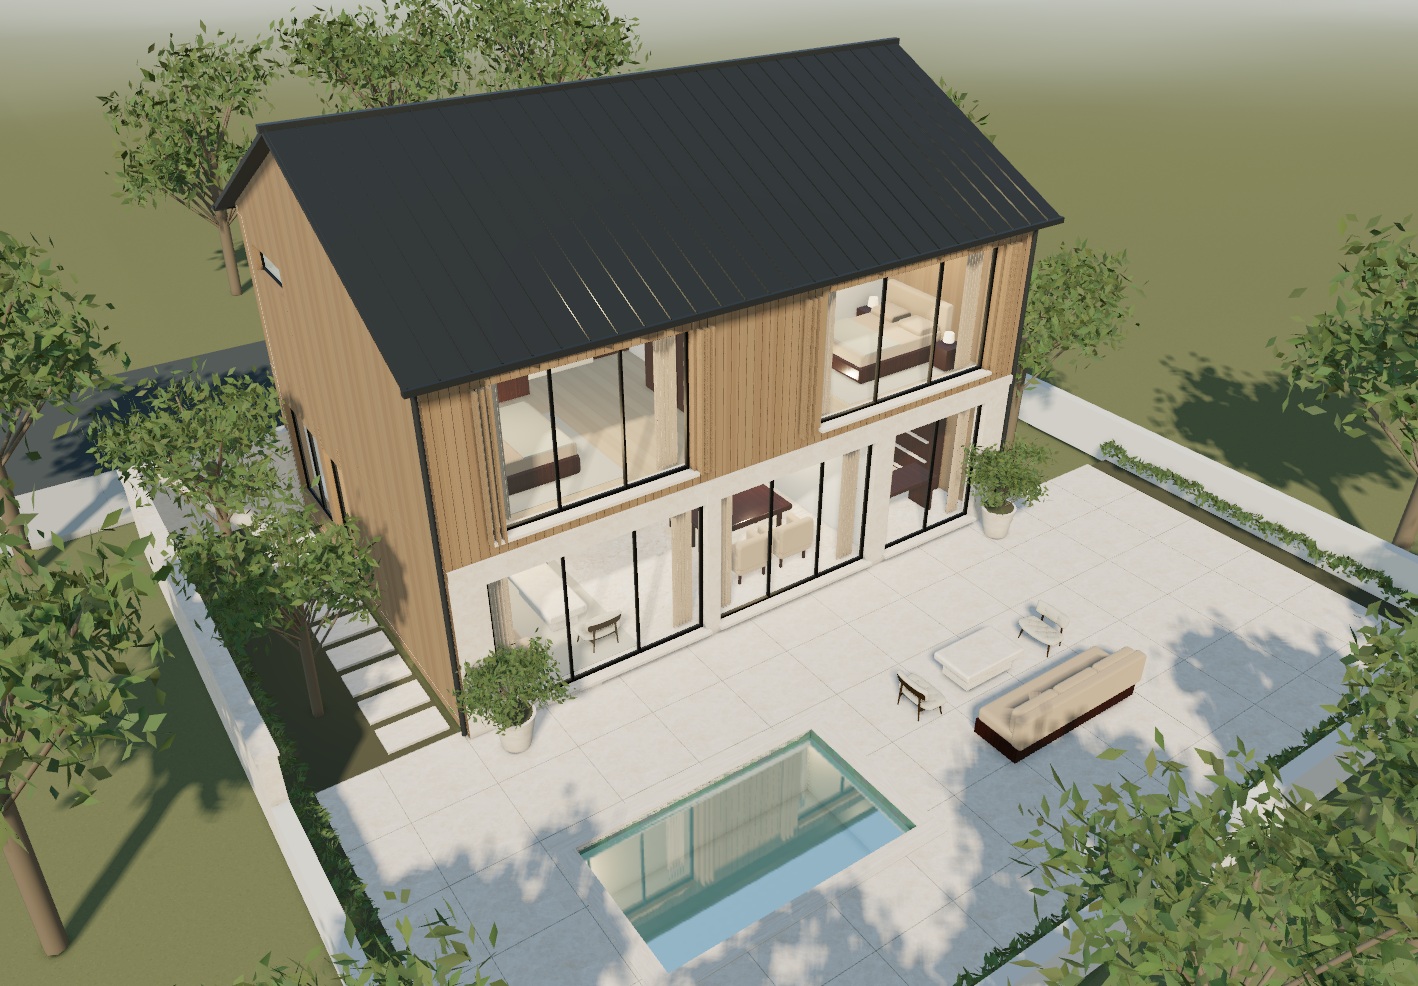
Four interiors and a Townhouse exterior.

↗Choose the part

Apply to supported surfaces and object parts.

↺Keep experimenting

Undo, redo or clear the current scene.

Updated October 27, 2026

A FIRST LOOK AT YOUR MATERIAL PALETTE

See Scene Preview
in action.

Watch the original five scenes and see how finishes work together. Start with a quick visual draft, then refine the material combinations that suit your design.

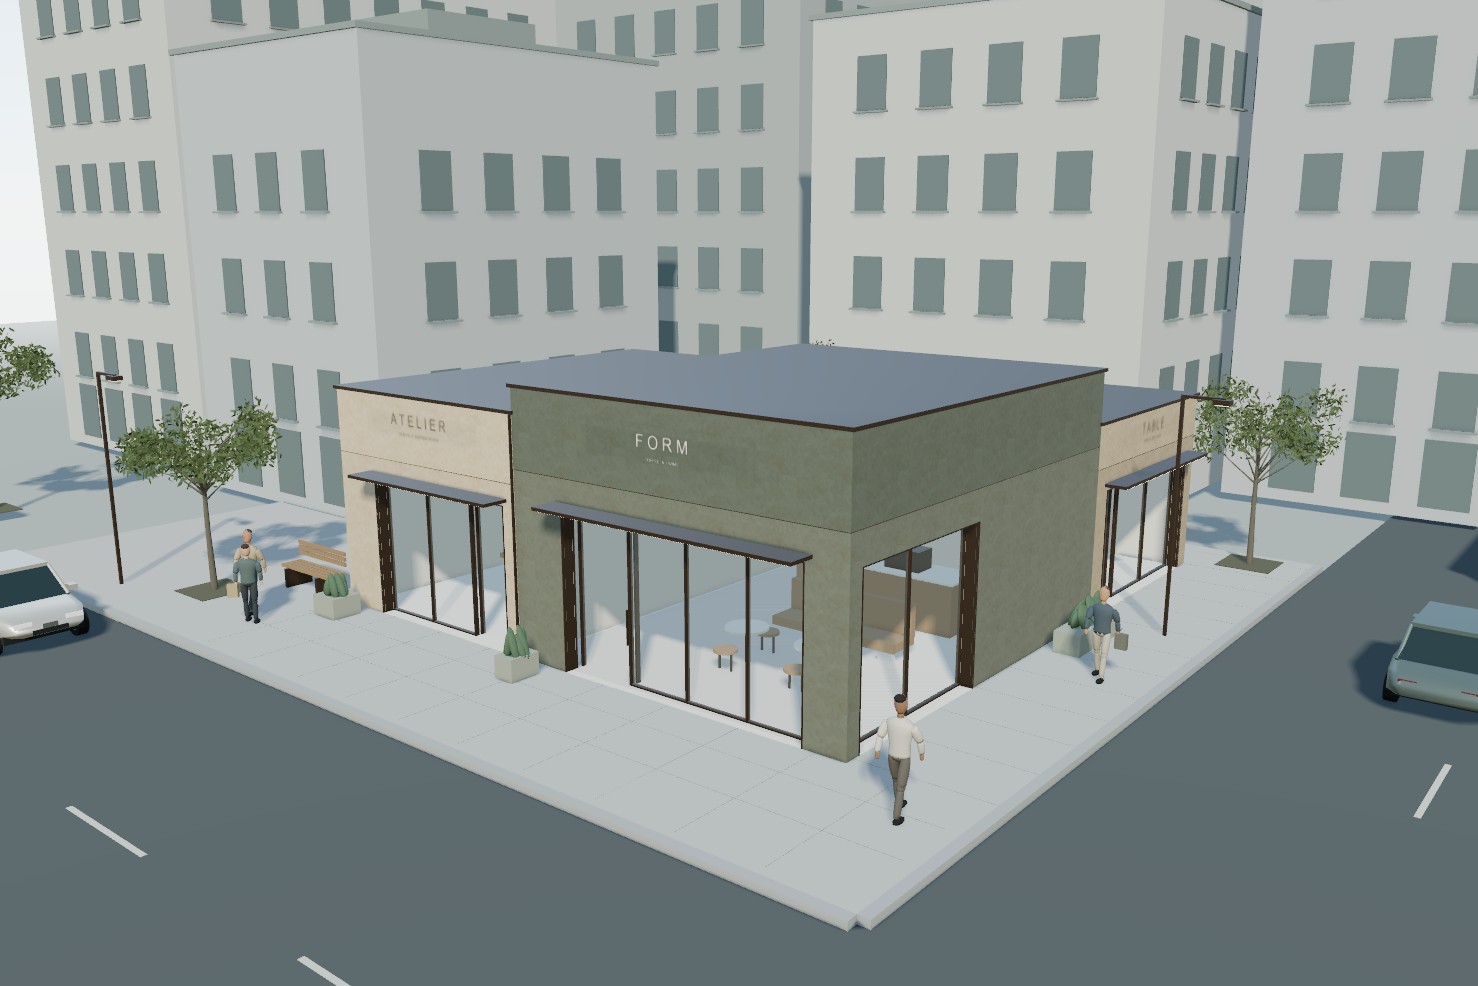
The walkthrough shows the original five scenes. You can also try the Retail scene below. English narration and matching captions are included.

SIX SPACES, DIFFERENT MATERIAL DECISIONS

Find a scene
for your next finish.

Compare a floor across an open room, a backsplash beside cabinetry, or large outdoor tiles against a facade. Each scene keeps its own applied materials while you work.

FROM YOUR IMAGE TO THE SCENE

Prepare. Apply.
Compare.

Keep material generation in the studio and use the scene to judge the result at room scale.

01

Prepare your material.

Upload a surface image or start with an example. For a tile material, choose a layout and set tile dimensions, grout width and finish before opening Scene Preview.

02

Pick the surface.

Choose Floor, Wall or Objects, then click a supported area. Ceiling is available in interiors; the Townhouse has Paving, Exterior, Roof and Objects controls.

03

Compare at a useful scale.

Adjust texture scale and rotation. Check close up and from a room view, compare lighting presets, then use Save view for a PNG reference.

Start with the tile layout generator for patterns and grout, or explore roof tile material profiles for exterior finishes.

A PRACTICAL TILE TEXTURE CHECK

Catch the repeat.
Keep the intended scale.

Complex tile layouts can look convincing in a small swatch yet expose seams or oversized joints across a floor. Check these six points before exporting.

1. Start with a clean surface.

For a new tile layout, use a crop of the tile material with minimal perspective and lighting variation. Existing photographed grout can appear inside the generated tiles as a second set of joints. A painted shadow or highlight will repeat with the image; changing scene lighting cannot remove it.

2. Check one complete pattern repeat.

Herringbone, chevron, basketweave and ashlar layouts use a repeat that may contain several pieces. Use Check seamless repeat in Tile Layout, then view the result across a larger floor. Follow the joints across every repeat boundary; look for broken diagonals, doubled seams and recurring dark bands.

For background on making image edges tile, see Adobe’s texture tiling guide.

3. Separate tile size from repeat size.

A 600 × 300 mm tile is one piece; the exported texture may cover several pieces and their joints. Keep the package’s full repeat width and height when setting texture size in another application. In the scene, compare the pattern with recognizable furniture, then return to the studio to correct the underlying dimensions.

4. Preserve a rectangular design.

A seamless repeat does not have to be square. For a rectangular wallpaper source, Use image ratio links width and vertical repeat to the source proportions. Pixel dimensions describe image resolution; physical repeat dimensions describe coverage. Keep both consistent to avoid stretched stone, wood grain or motifs.

Adobe explains the difference between repeat-based and physical-size material scaling.

5. Judge grout and relief together.

Set grout width in the studio, then check it from close and room views. Strong grout contrast can dominate a small tile; deep-looking joints may need a softer height or normal effect. Compare the color, roughness and relief together under more than one light preset. Scaling the texture also scales the visible joints.

6. Review custom pattern detection.

For Custom analysis, upload a JPG, PNG or WebP drawing with clear dark seam lines on a light background. Crop one rectangular repeat, analyze it and inspect the repeated result before choosing Use detected pattern. This traces contrast into approximate seam geometry; it does not identify tile materials. Custom analysis and other marked layouts require Pro.

DRAWING PATTERNS AND RENDERED MATERIALS

A PAT hatch and a texture
solve different parts of the job.

Keep the line pattern for your drawing and the material maps for rendered appearance. Matching dimensions help them describe the same layout.

What the .pat file contains.

A PAT hatch describes repeating line families for CAD or BIM drawings. It does not contain a photographed tile surface, color image or PBR shading. Material-Snap’s tile material package includes MaterialSnap-Tiling.pat, generated from the layout’s joint centerlines, together with the texture repeat dimensions.

Scene Preview accepts materials and supported image files; it does not import arbitrary .pat files. If you already have a CAD hatch, keep that file for the drawing application. Custom analysis starts from a pattern image and requires review before use.

Autodesk documents the units, model-type declaration and line descriptors in its PAT file format reference.

Check alignment in your CAD or BIM host.

  1. Read the package’s units and full repeat size before importing. The tile PAT export uses inches; the package also records physical dimensions in millimeters.
  2. For a physical tile layout in Revit, use a model pattern and verify the import scale. Set the material image’s real-world size to the exported repeat dimensions.
  3. Check orientation, origin and face offsets on a sample surface. A matching PAT and texture still need verification in the destination application, especially for custom or newly added layouts.

See Autodesk’s custom fill pattern import steps. For roof-specific outputs, read the software export guide.

Keep the texture maps with their metadata. Base color carries the surface color; normal, roughness and height maps describe other parts of its appearance. A hatch file does not replace those maps. Save view produces a PNG comparison image; export the material package separately from the studio.

ROOM TO EXPERIMENT

Change one part.
Keep the comparison useful.

Keep the camera and lighting consistent when comparing two finishes, then test a second view to see how each responds.

SURFACE CONTROL

Make a focused change.

Individual walls and supported object parts are separate targets. Use the bathroom’s floor areas to compare shower tile with the main floor without changing both.

UNDO & CLEAR

Try the next idea.

Clear restores the selected part. Clear all restores the current scene; Undo brings those changes back. Other scenes retain their own applied materials while the preview remains open.

SAVE VIEW

Keep a visual reference.

Save a PNG from the same camera for each material combination. These images help compare finishes; they do not create an editable scene file or save a project.

A visual material preview. These furnished test scenes support finish comparisons. They are not your measured project, a tile quantity takeoff or an installation drawing. Lighting and screen color affect appearance; confirm a final selection with physical samples.

BEFORE YOU START

Material preview
questions, answered.

Which scenes can I use?

Choose Townhouse, Living room, Bathroom, Kitchen, Master bedroom or Retail. In Retail, select Exterior and click an upper or lower front, side or exposed rear wall to apply your current finish to that face. The four interiors provide floor, wall, ceiling and supported object targets. Townhouse provides roof, exterior walls, outdoor paving and supported objects.

Can I preview a herringbone or custom tile layout?

Yes. Generate the material in Tile Layout, then open Scene Preview in the studio. Check its seamless repeat first. Custom analysis uses a pattern image, requires confirmation of the detected lines and is a Pro feature.

Why does my tile texture look stretched or too large?

Check the full repeat width and height, not just the size of one tile or the image’s pixel count. Keep rectangular proportions intact. In the preview, texture scale and rotation help compare the result; correct the source dimensions in the studio before export.

Can I upload a PAT file or turn one directly into a PBR material?

There is no direct PAT-file import in Scene Preview or Custom analysis. A PAT is a line-based hatch definition, while a PBR material uses images and surface properties. Material-Snap exports a companion PAT with tile materials; it does not infer a stone or wood texture from arbitrary hatch lines.

Can I change only the curtains, cabinetry or bedding?

Use Objects, then click a supported part. Available targets depend on the scene: examples include Living room curtains, Kitchen cabinet doors and Master bedroom bedding. Small decorative items and light fixtures are not all editable.

Does Clear all remove changes in the other scenes?

No. Clear all restores the active scene. Other scenes keep their material choices during the current preview session. Undo can restore the cleared changes; a PNG saved with Save view is a separate visual record.

A GOOD MATERIAL STARTS WITH A SNAP.

Try your next finish
in a real 3D scene.

Open the material studio